The dyed wooden eggs were a HUGE hit here with everyone. Especially for Perl - our big, orange lady tabby. She chased them around the family room for an hour. If you know Perl, then you understand why this occurrence was epic.
I, too, loved the way our eggs turned out and how simple the process was. While NanaPop were visiting, I gathered up some of the wooden parts for Miss Roo's birthday presents and started dying. I made her a set of rainbow wooden sorting bowls. I'm more than a little excited about them. They are perfectly sized for our little kitchen, our dolls, our sorting pieces, and our little hands. The bowls came in packs of ten, so I decided to make a set of lime green bowls for my friend's little girl. She's a few years older than Miss Moo, but I am hoping the size and the color will win her over.
Moo woke from nap to find me sitting at our kitchen table with a dye bath, wooden bowls, and a rubber glove on my left hand. After answering several questions about what my project was I asked if she wanted to help. She squealed with excitement and responded yes.
Our process for bowl dying was a little different than our eggs. I first poured clean water into each bowl to almost the rim. I then poured the water back in our glass measuring cup and added drops of food coloring. I took a paper napkin and dipped it in until I found the color I was looking for in the dye bath. I then repeated this process with the same number of drops for each bowl. I asked Moo to watch me do this part because we have yet to find any suitable craft gloves that are sized for her little hands. After pouring the dye into each bowl, Moo went to work.
 |
| Moo painting the sides of the bowls. |
|
|
|
|
|
With her biggest watercolor brush, she painted the bowls by dipping her brush in the dye bath and painting down the sides. This method was the least messy and the most engaging for her. She painted the sides of each bowl and the rims. She noticed how the "paint" from the rim ran down the side and "went away" into the bowl. She giggled and showed NanaPop what she had done.
 |
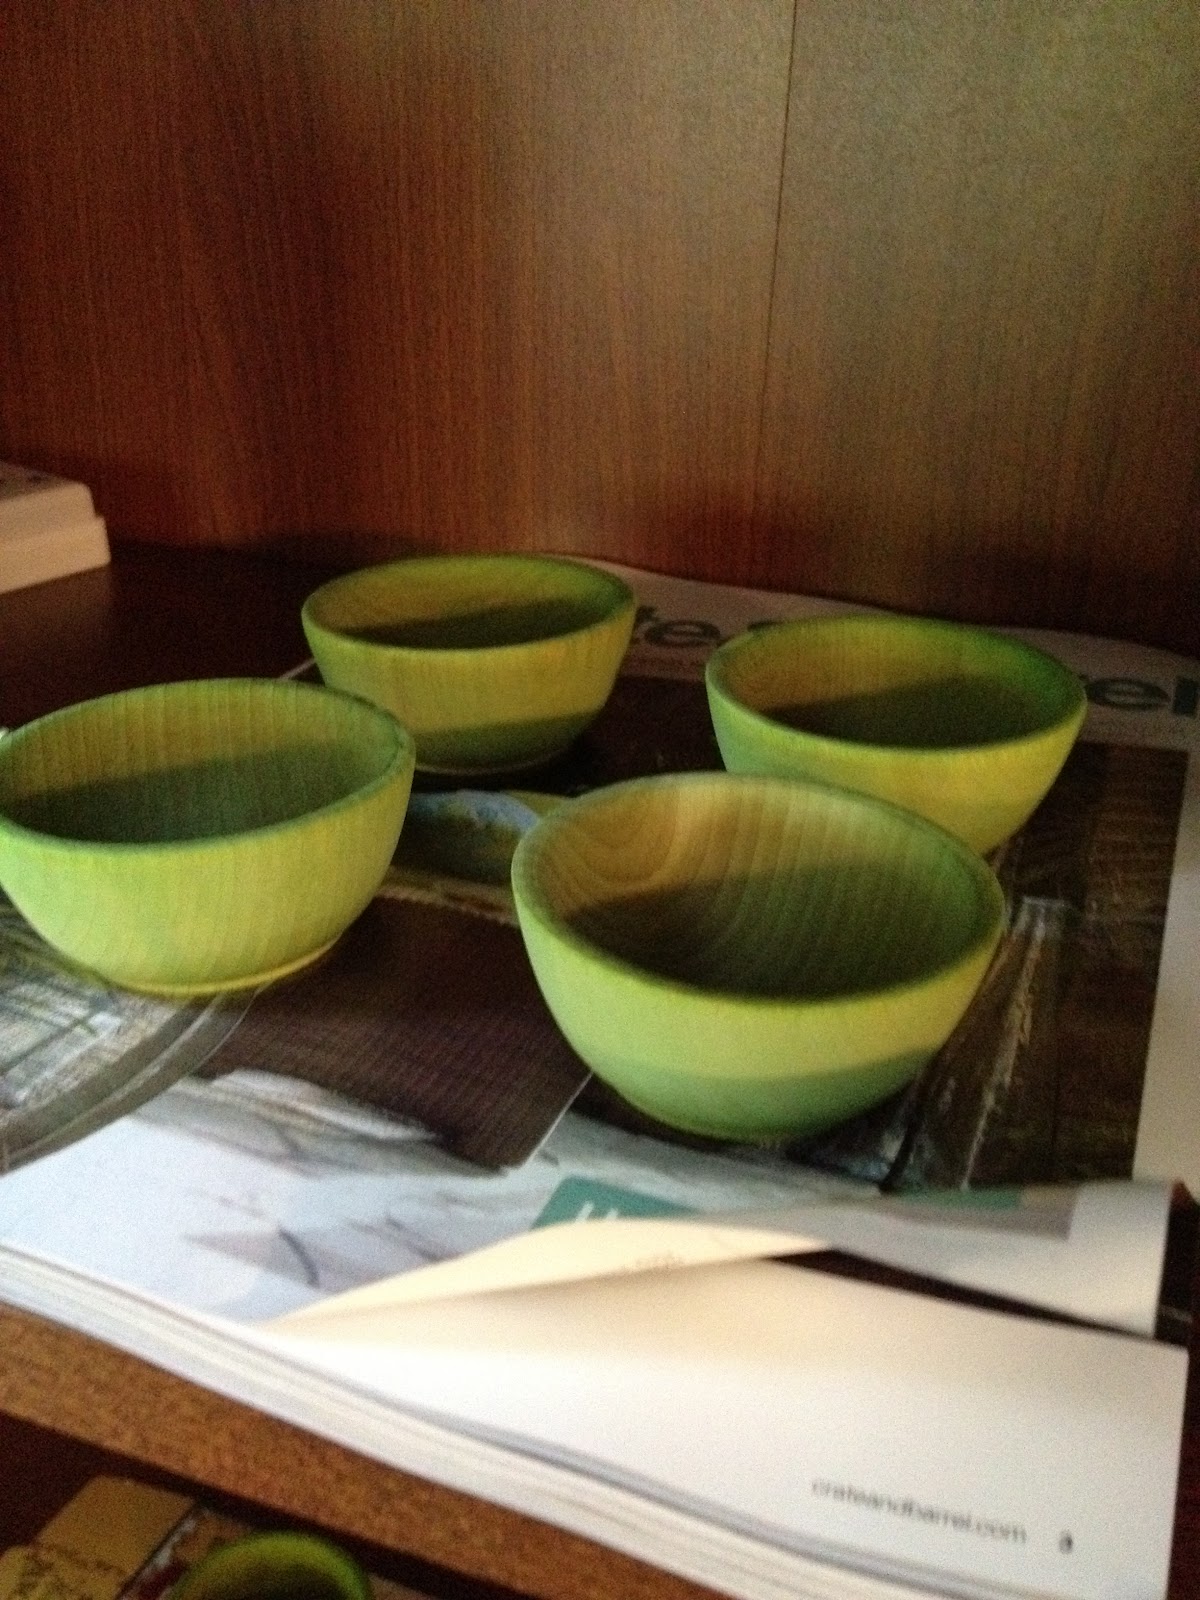
| Four lime green bowls. |
Then she asked to do more. Roo was up from her nap by this point in our day, so we postponed our sorting checkers project for another afternoon.
A few days later during nap time, I repeated the dying process with some wooden checkers we will be using for sorting, counting, addition, etc. I was running low on dye from our previous two sessions and our checkers turned out very pastel (and I forgot to take pictures!). I showed Moo what I had done and told her she would get to help me make them darker. Again, there were squeals of delight.
Yesterday afternoon after naps, we went outside to play, get some air and sun, and to re-dye our checkers.
 |
| Wooden checkers waiting to become yellow. |
 |
| Red and orange checkers together- difficult for me to sort. |
 |
| Purple checkers before their second swim. |
As you can see our checkers were very light and difficult to distinguish in some cases. I purchased another small box of food coloring to finish up this project in an attempt to be consistant. I have read elsewhere on the net that you can also dye some materials with KoolAid. We have a TON of leftover sugar-free single serving packets in our pantry. I intend to see how that works in the coming weeks.
 |
| Blue checkers taking a swim. |
This time I used much less water and added more dye. This tactic yielded much better results. Moo helped me place all ten of our blue checkers into the Pyrex bowl with our dye bath. I used a spoon to fill each checker with dye. This step helped to keep the checkers from floating and concentrated the color on the top of each piece. Each checker was in the bath for about 3-5 minutes before I removed them with a gloved hand.
I repeated this process for each of the colors. We created an assembly line on our old cardboard box. Moo would help me stir the dye bath and gently place the checkers in. I'd fill then, monitor them, and call her when I would remove them to sit on their paper napkins to begin drying.
 |
| Assembly line ready to go. |
 |
| Our drying tray. |
 |
| Our new art paper awaiting inspiration. | | | | | | | | | | | | | | | | | | | | | | | | | | | | | | | | | | | | |
|
|
|
|
|
|
|
|
We tried to use this project as a learning experience to be both green and educational. I reused the primary colors to make secondary dyes and to review color mixing with Moo. She still finds the process of making colors magical. We counted each checker as they went into and out of the bath to verify that all 10 were there. We talked about how the "paint" that was on our checkers was absorbed by the paper. Moo could even point out that the secondary colors bled two primary colors onto the paper. She told me that the papers were pretty and I told her that we'd use those again for making some art rather than throwing them away. She was pleased to hear that would be more art. I was pleased to not be throwing trees away.
After cleaning up from our project, we all went inside so I could cook
dinner and the girls could color and watch a little t.v. (I wish I knew
how to cook dinner without using the t.v. So far, nothing else has
worked to keep them playing in that room and not under my feet.) After
dinner, I went outside and gathered up our almost dry checkers. Before
placing them on the shelf in the sun room to completely dry, I showed them to Moo.
 |
| One set of sorting checkers. | | | | | | | | | | | | | | | | | | | | | | | | | | | | | | |
|
"OOOOOOO! Mommy! A rainbow! Geen! Lellow! Ordange! Wred! Purptle! Buue!"
I can't wait see all the fun we will have with these!


I love all these ideas! Where do you buy all the wooden shapes? You're a great mommy!
ReplyDeleteI JUST remembered this comment. I am a little behind ;) I use this site for a lot of my wood stuff that I can't find at Hobby Lobby or Michael's.
ReplyDeletehttp://www.craftparts.com/
They have a great range of products and I like buying in bulk ;)